Showing posts with label kiss. Show all posts

Tuesday, January 24, 2012

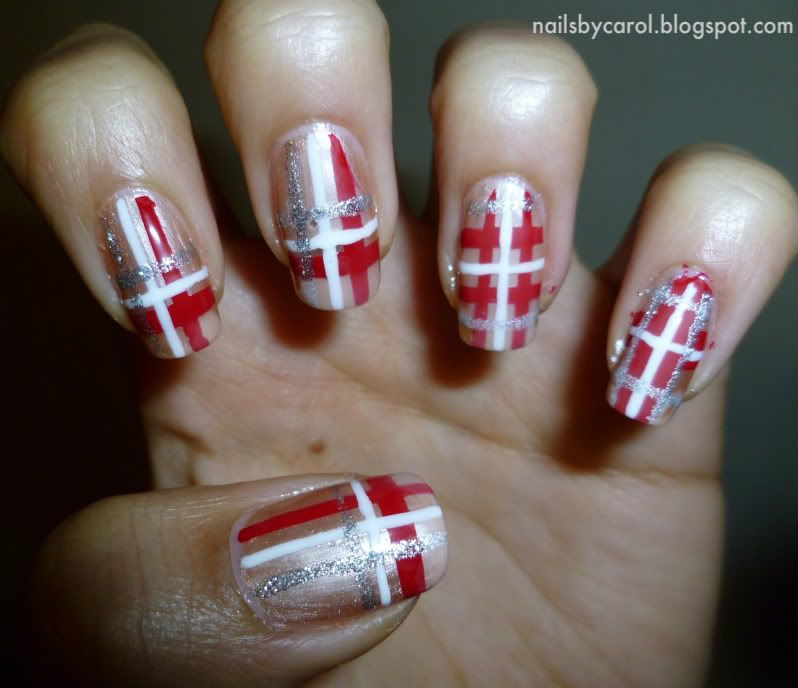
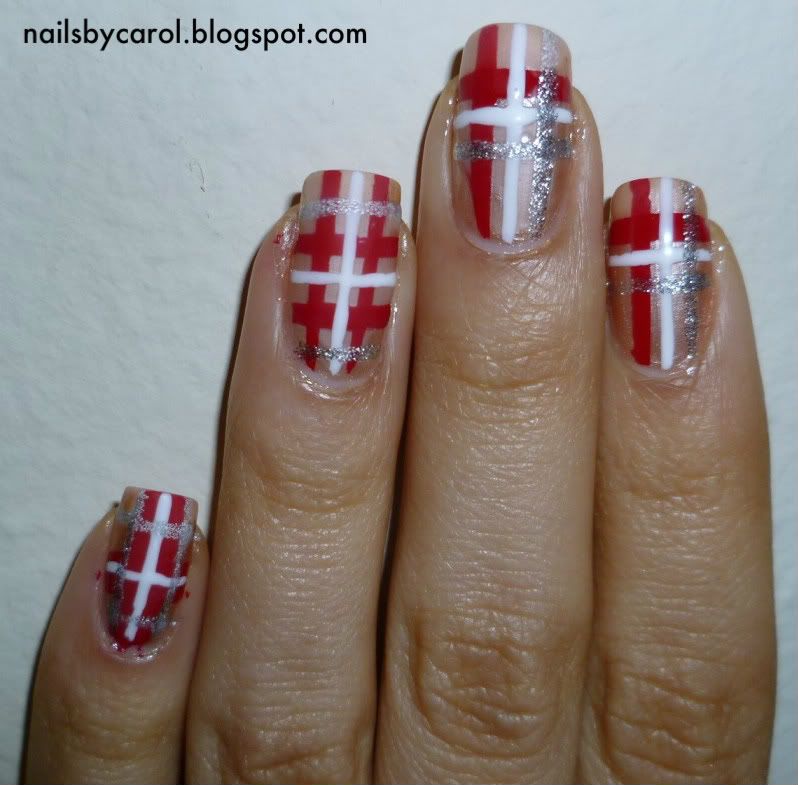
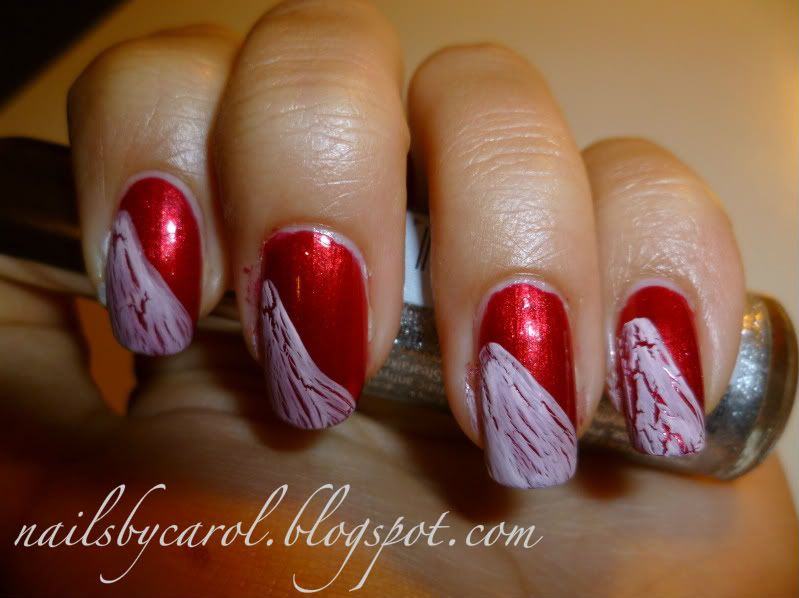
Week 4: Plaid Manicure

Hello!
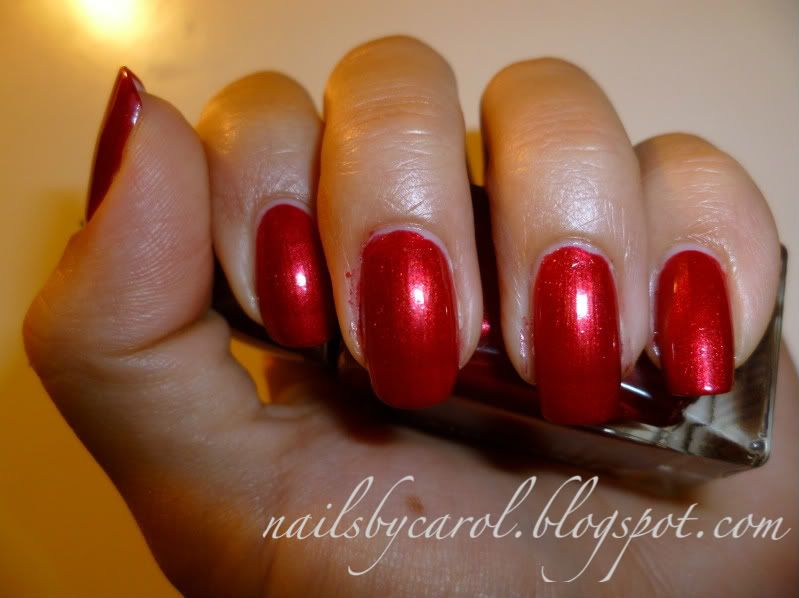
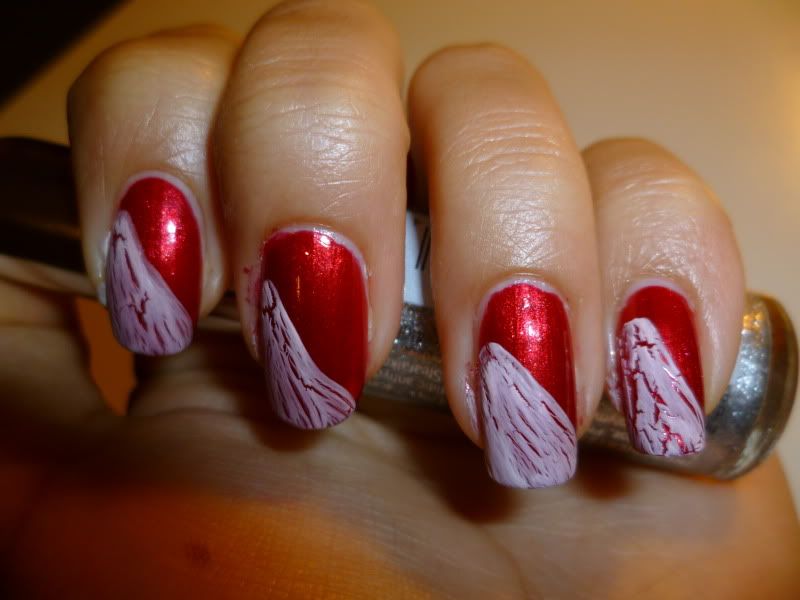
I am SO terribly sorry I did not post my weekly mani for this challenge on Sunday as I usually do. I have been really sick and I did not feel like doing my nails. In addition to my horrible flu, headaches, body-aches, coughing and nose congestion, one of my nails broke and I was just not in the mood. I am not 100% recovered, but I am feeling way better and here is my plaid manicure.
I thought plaid was easy... Well, not so much for me. I think it looks a bit Christmas-y and for some odd reason my top coat (INM Out The Door) dried matte!? I am a little confused...
What did I use?
  • Santee 'Brown Silk'
  • Sally Hansen Insta-Dri 'Rapid Red'
  • Kiss Nail Art Polishes in Silver Glitter and White

For a list of the previous and upcoming manicures, as well as the other ladies doing it, please click HERE
xoxo,
Carol Pin It

Sunday, January 8, 2012

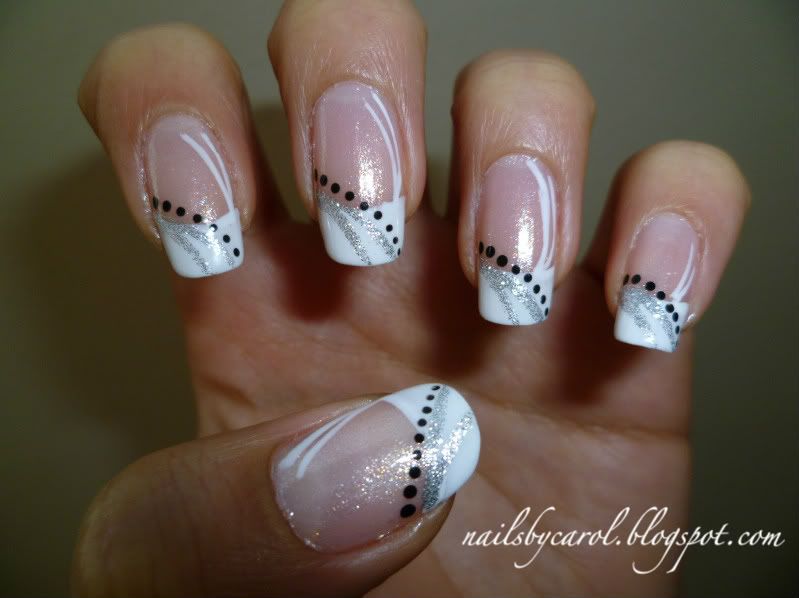
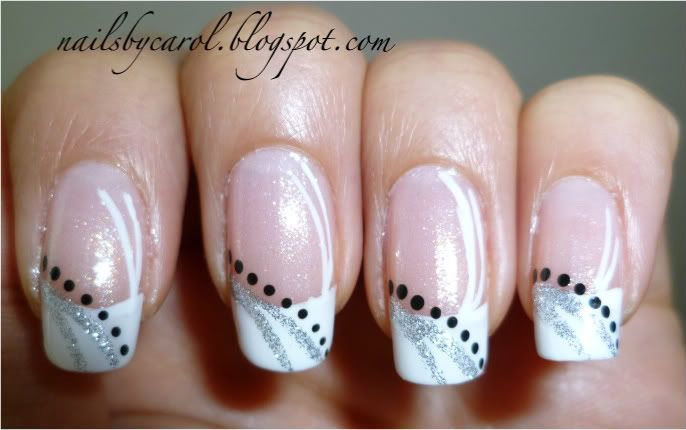
Week 2: French Tip Mani

Hello!
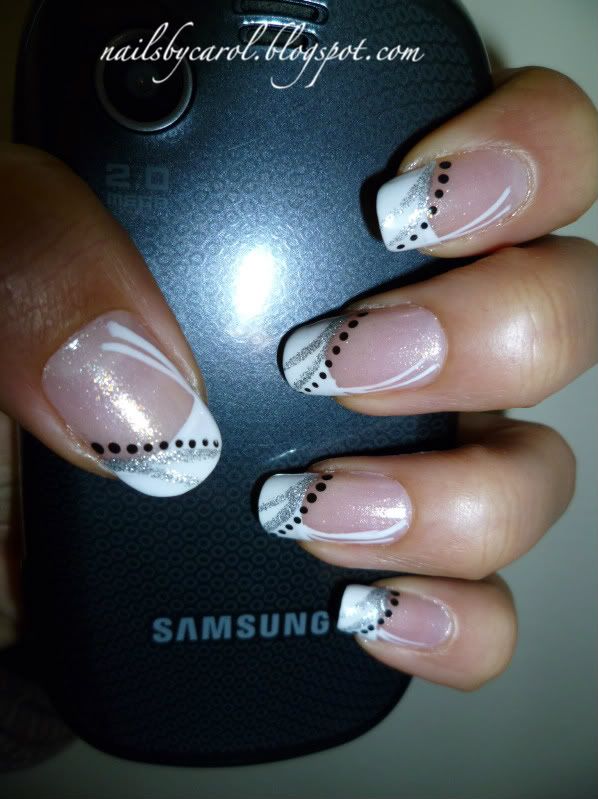
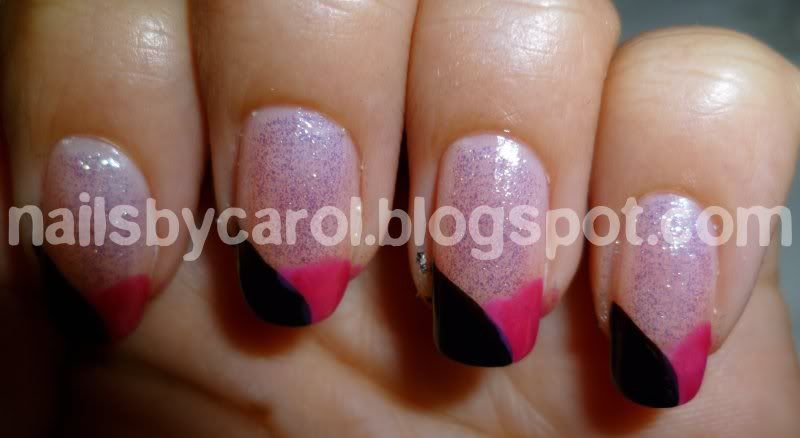
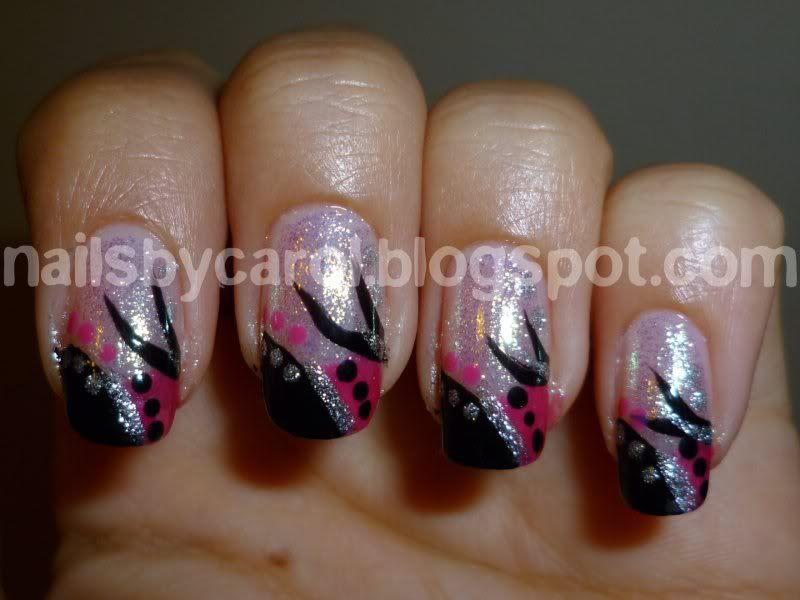
For week 2 of this challenge, I kept it really simple and classic. I did not go crazy with colors because a memory came to mind about french tips. I was about 14 years old and my cousin who was 20 (or 21) took me to a nail salon. That was my first time ever and I got a french mani. I had stubbies back then and it sucked because I could not grow pretty nails... I had brittle and plain ugly nails. I went back memory lane 9 years and now, I have the nails I thought I could never have. I am really happy and I am glad I could bring that memory and say that now I love my nails and that I did them myself :)
I used:
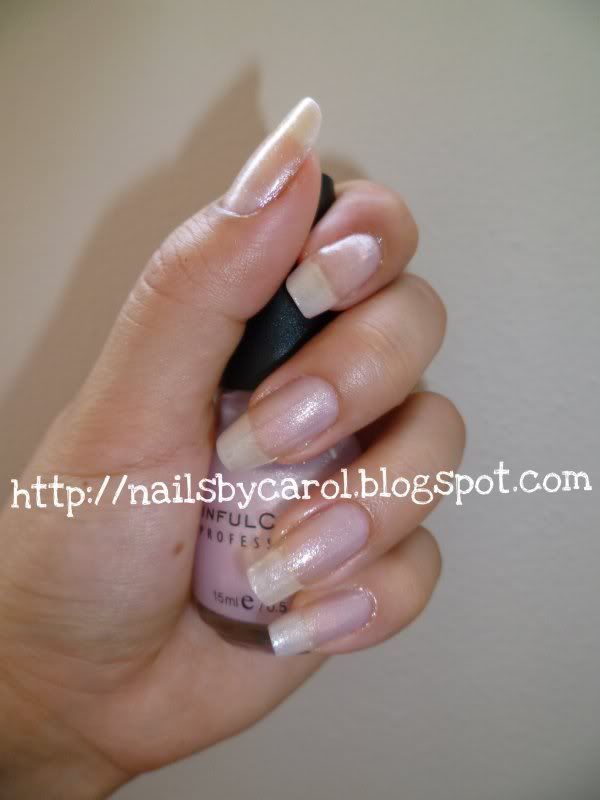
  • Glass Pink by Sinful Colors
  • White by Kleancolor
  • Silver Glitter and White Stripers
  • Black (acrylic paint) by Craft Smart
Make sure to check out Jenna's blog and the other ladies doing this challenge :)


Pin It

Monday, December 19, 2011

Candy Canes and Holly Nail Design

Hola!
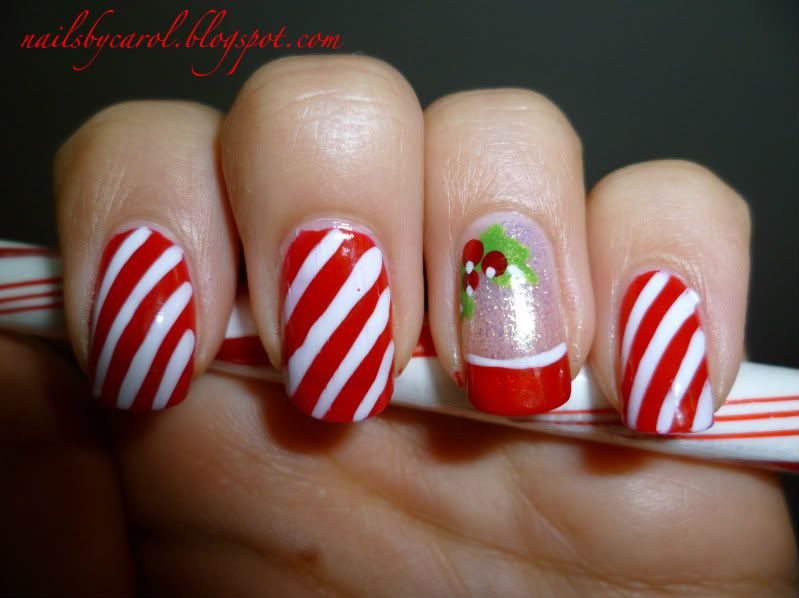
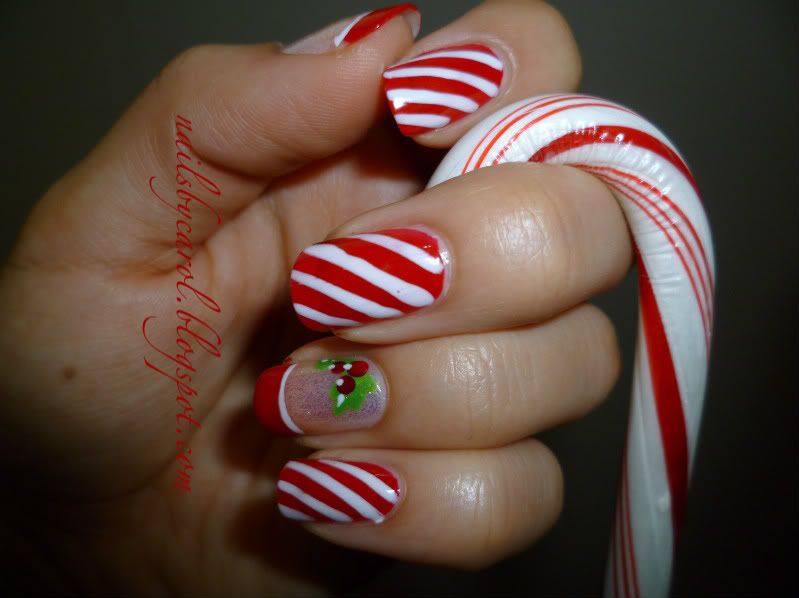
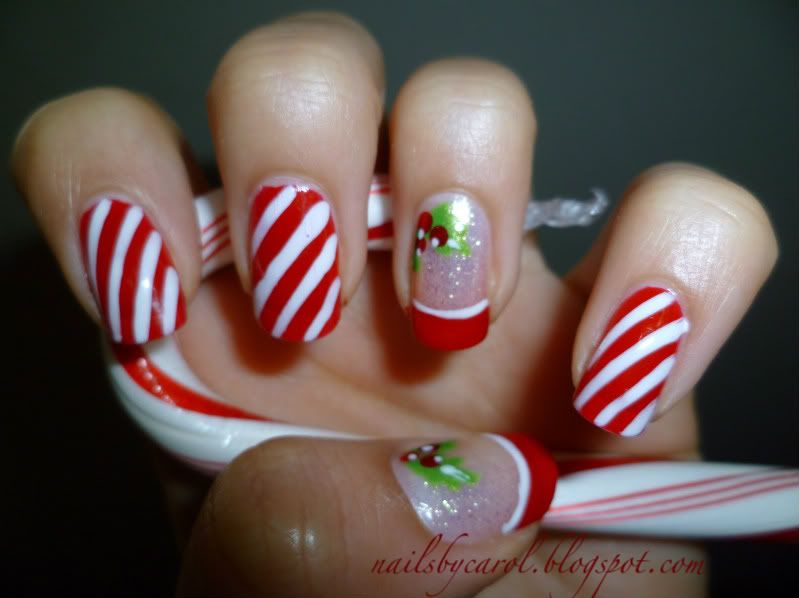
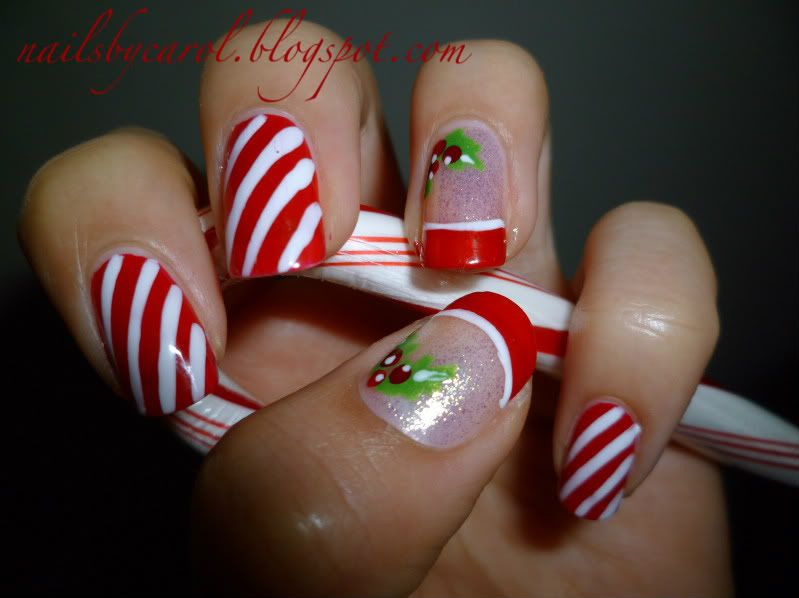
This is my first festive and holiday related manicure. I remember when I was not into nail art, I attempted some candy cane design and I failed miserably. This year is different because now, I feel a passion for nails. Let me tell you that I LOVE peppermint candy canes, it is my favorite candy. Here is what I accomplished this time to get into the whole Christmas celebration this year.
For this manicure, I used the following polishes:-For candy cane nails:
     *Freshcover #369
     *Kiss Nail Art Polish White
-For holly nails:
     *Freshcover #369 (for berries and tips)
     *Kiss Nail Art Polish White (for outlining tip)
     *Sinful Colors Happy Ending (for leaves)
     * Jesse's Girl Firefly (background)

It took me about 20 minutes to get this done and I just love how it came out. Here are some more shots:
xoxo, 
Carol

Pin It

Friday, November 4, 2011

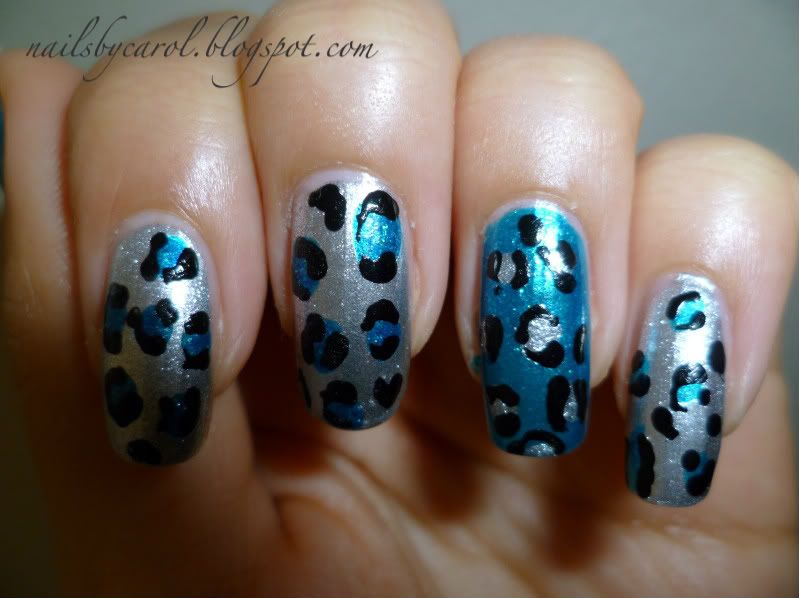
Winter Leopard Print

Hi again!
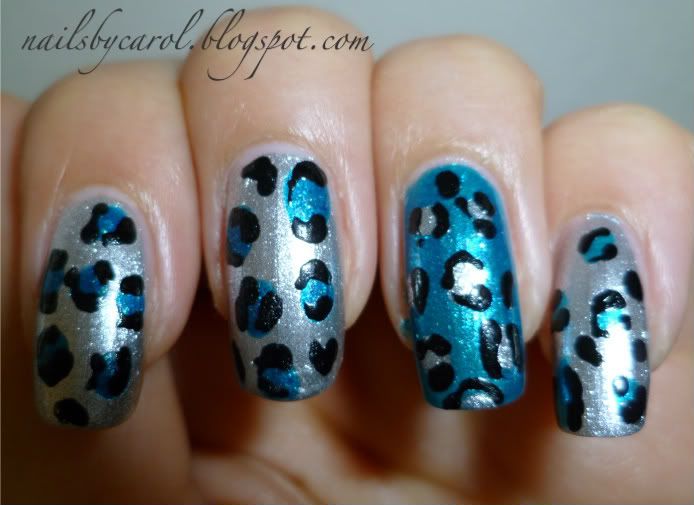
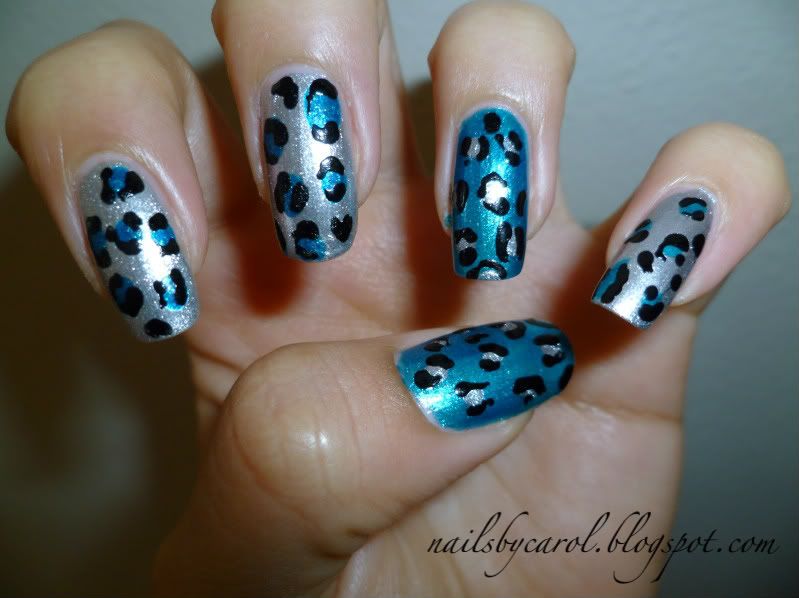
This time I am bringing a spin on a typical leopard print. This is my second post with animal print, to see the original leopard print I did, click HERE. This time around, I used silver and teal polishes and I followed the same procedure as I did on my other leopard print mani. 
Hola de nuevo!
Ésta vez les traigo un manicure de estampado de leopardo un poco más moderno. Ésta es mi segunda entrada con estampado animal, para ver mi estampado animal anterior haz click AQUÍ. Ahora, usé plateado y turquesa y seguí los pasos del proceso anterior.
-Carol
  • Pearl Silver by Kleancolor
  • Teal of Fortune by Wet n Wild fastdry
  • Kiss Nail Art Polish in Black
Pin It

Friday, October 14, 2011

Fancy Red and Crackle

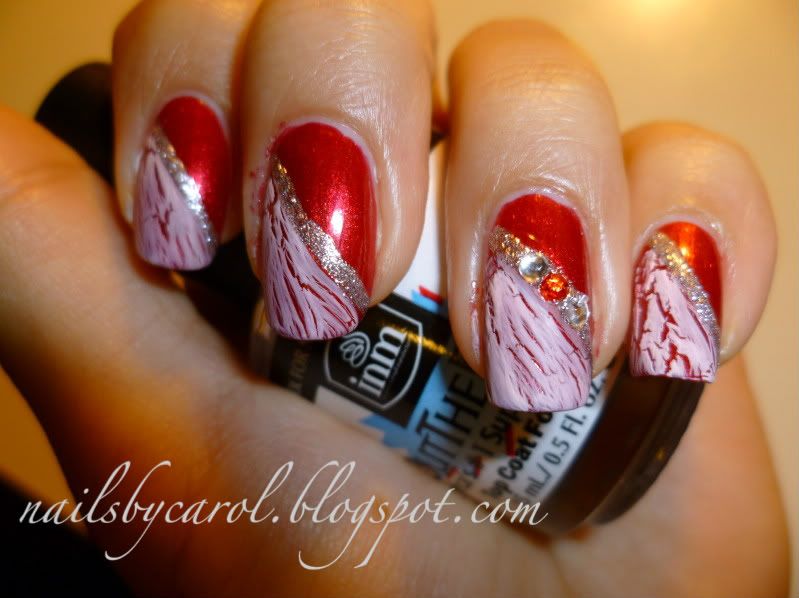
For this manicure, I wanted to use red, so I chose a ruby red color, Love is Battle by Freshcover. I could not leave it simple so I added White Crack by Nabi on the side. Of course, I blinged it up by defining the edge between the crackle and the red with a silver stripe as well as rhinestones on my ring and thumb nails.
Para éste manicure, quise usar un esmalte rojo y escogí un color rubí, Love is Battle de Freshcover. No lo quise dejar simple y agregué White Crack de Nabi por un lado. Claro, lo tuve que decorar y definí el borde entre el esmalte rojo y el crackelado con una línea plateada y también con piedritas en las uñas de los dedos anular y pulgar.
-Carol <3
Pin It

Saturday, October 8, 2011

Dark and Chic


Hey!
Long ago, I started watching nail tutorials on YT but I never did any of them because my nails were so brittle and ugly that I could not do anything. I came across the channel Love4Nails by Raquel and she is just AMAZING! I remember that she would do some cute and different french tip manicures and this one I did is sort of reminiscent of her awesomeness. I hope you like my attempt to be cool :P
Hace tiempo, empecé a ver videos de manicures en YT pero nunca intenté nada porque mis uñas eran tan frágiles y feas que no podia hacer nada con ellas. Una vez, me crucé con el canal de Raquel; Love4Nails y ella es MARAVILLOSA! Recuerdo que ella tiene tutoriales de manicure franceses poco comunes y éste que muesto aquí está inspirado en uno que ella hizo. Espero les guste mi intento de hacer algo cool :P

Products/Productos
  • Fire Fly by Jesse's Girl
  • Black Creme by WnW
  • Expecting by Freshcover
  • Forget Now by Sinful Colors
  • Silver Glitter by Kiss
-Carol
Pin It

Tuesday, September 27, 2011

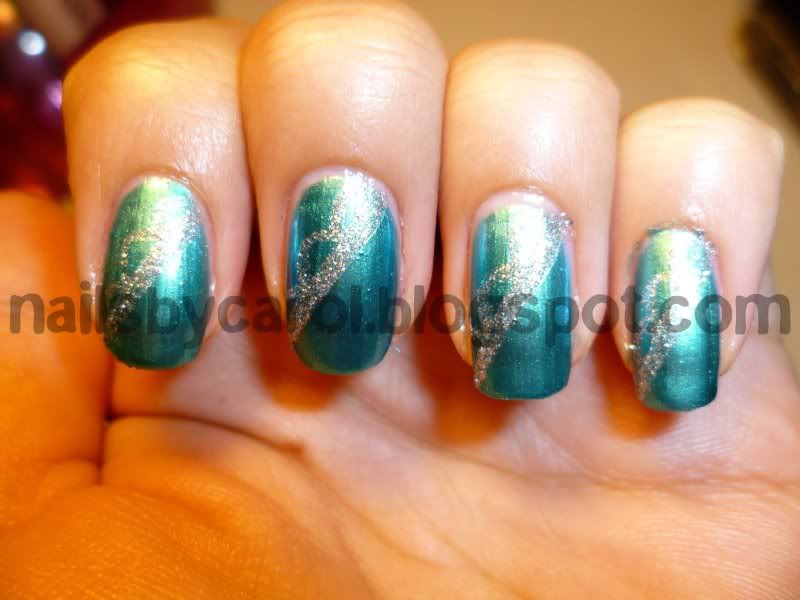
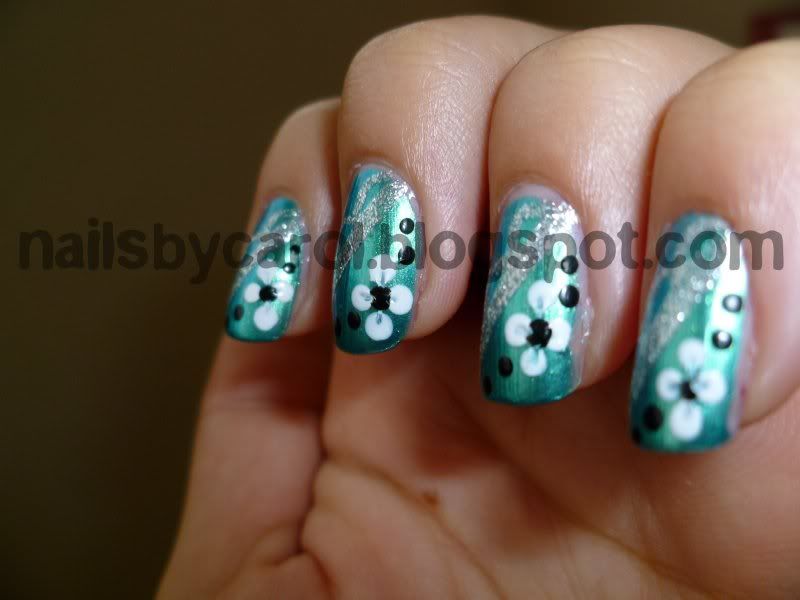
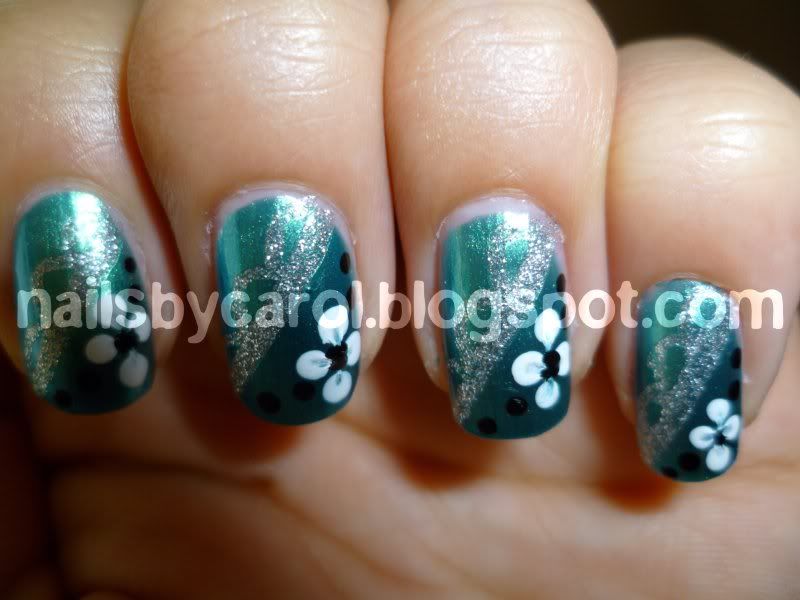
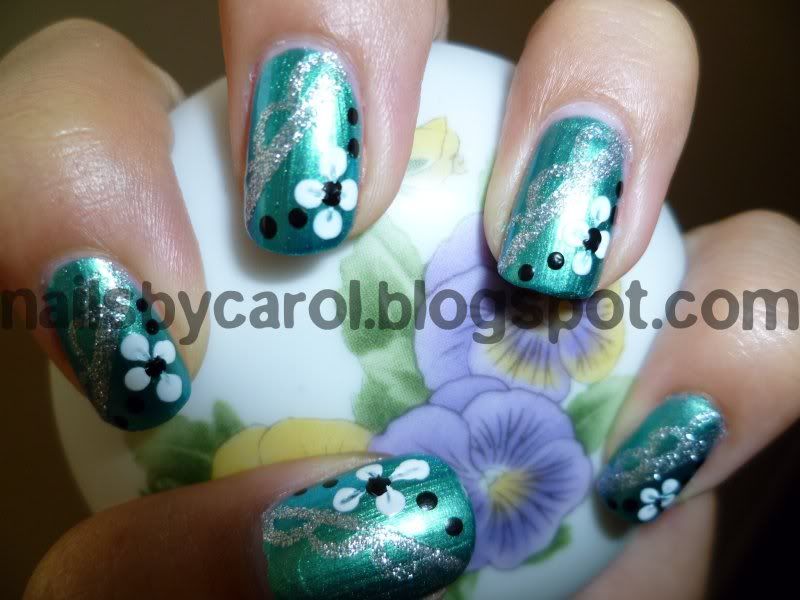
Flowers, Dots and Glitter

Hi!
This nail look came to me as an improvisation because, just as anytime, I do not know what to do. So here we go. Before getting into the tutorial itself, I would like to mention that many times I do not post detailed step-by-step pictures, that is because many times I start doing my nails and I get too focused and it is until I am basically done that I say, "Hmm, PICTURES!!!!". I think I will be doing this look again and I promise I will take pics this time around.
Hola!
Éste manicure salió de una improvisación porque como siempre, no sabía que hacer. Aquí vamos. Antes de iniciar el tutorial, me gustaría mencionar que muchas veces to coloco fotos detalladas del paso a paso, eso es porque muchas veces cuando arreglo mis uñas, me enfoco mucho en lo que hago y no es sino hasta que he terminado que me doy cuenta que no he tomado fotos. Haré nuevamente este manicure en otra oportunidad, prometo tomar fotos esta vez.

Start with two coats of Gorgeous by Sinful Colors, a green-turquoise polish with some iridescence.
Empieza con dos capas de Gorgeous de Sinful Colors, que es un verde turquesa tornasol.
Then, do a diagonal with silver and do little half circles to resemble lace.
Traza una diagonal con plateado y haz medias lunas para que parezca encaje.

On one of the corners, do a 4-petaled flower and add some random dots.
En una de las esquinas, haz una flor de 4 pétalos y agrega puntos al azar.

Seal it off with a top coat.
Séllalo con un protector de esmalte.
-Carol
Pin It

Friday, September 2, 2011

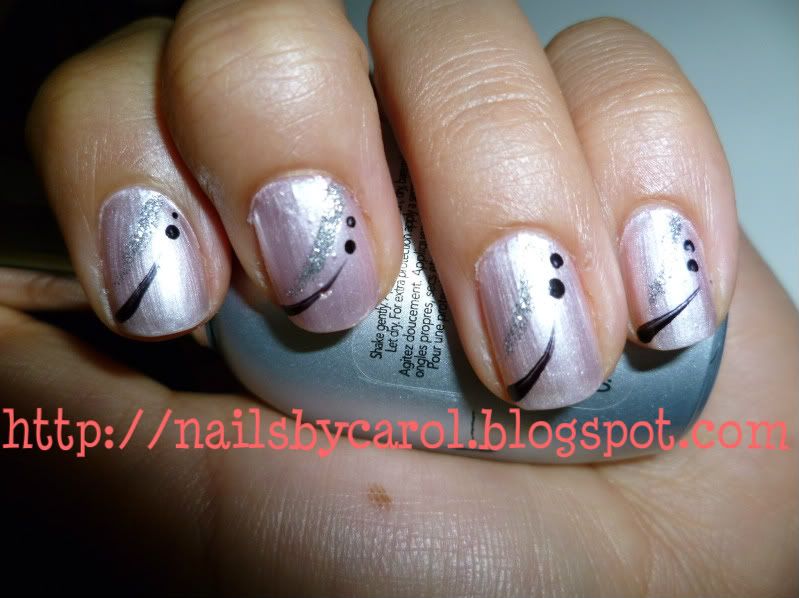
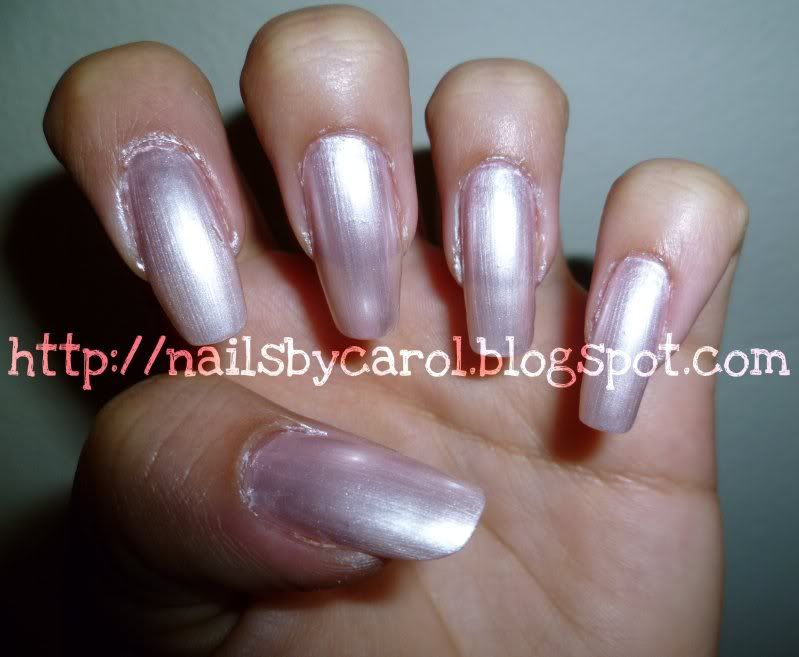
Pearly Pink and Short Nails

Heyyyy!
I am back!
I apologize for having been gone, but there is nothing to worry about, I am back and ready to do more nail design. I must say that I filed my nails down all the way, so I am growing them again, and bear with me, it will take about 6 weeks.
I am posting this simple mani I did a few days ago, nothing special, just trying to love my short nails.

Volví!
Una disculpa por mi ausencia, pero no hay nada por que preocuparse, regresé y estoy lista para seguir haciendo diseños para las uñas. Debo decir que me corté las uñas y estoy dejando que me crezcan nuevamente, lo cual tomará unas 6 semanas.
Les dejo este manicure muy sencillo que hice hace unos dias, nada especial, solo intento que me gusten las uñas cortas.
 -Carol

Pin It

Monday, July 25, 2011

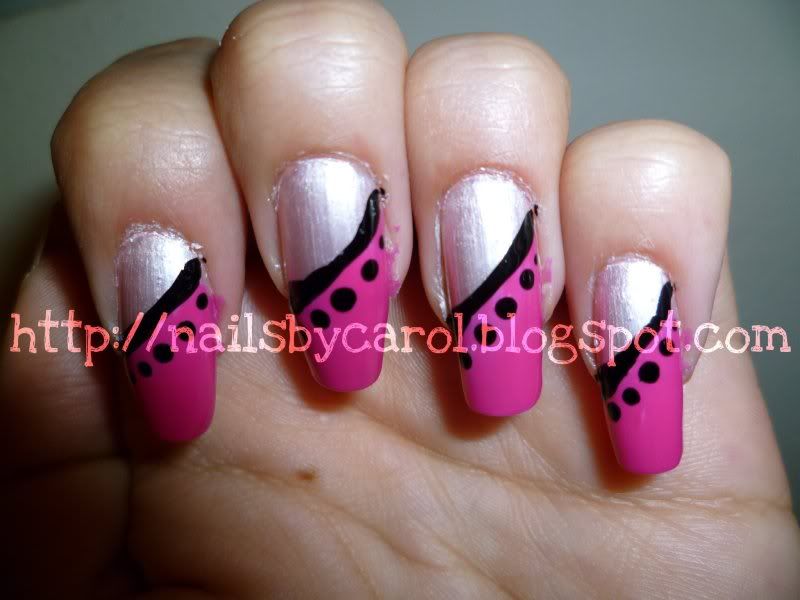
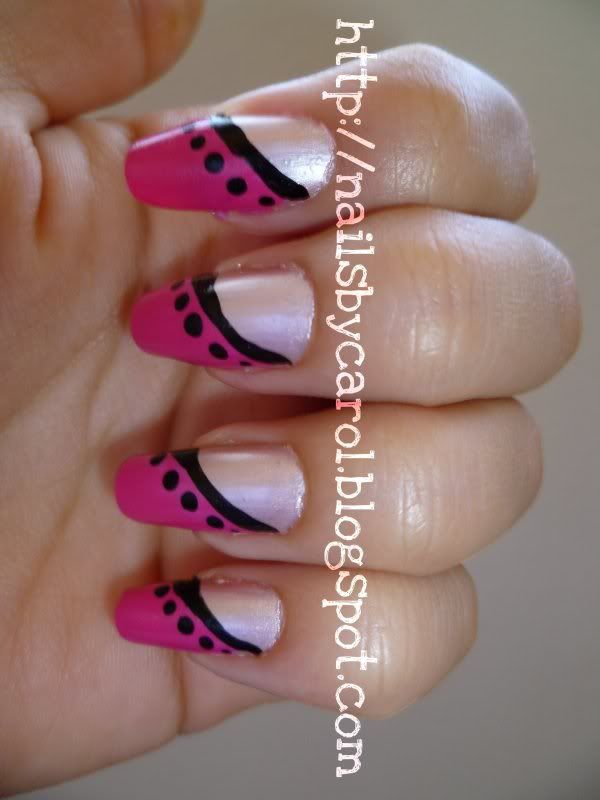
I Love Pink

Hey :)

I will share with you this short lived manicure. I had to change it 1 day after doing it because I needed one with more decent colors... But here you go!
Les compartiré este manicure que duró muy poco. Lo tuve que cambiar al siguiente dia de hacerlo porque necesitaba uno con colores más decentes. Aquí se los dejo!

Products Used:
Productos Utilizados:
  • Nude Pearl by Nabi
  • Expecting by Freshcover
  • PA12 Black by Kiss Brush On Nail Art
1. Apply 2 coats of a light/pearly pink (Nude Pearl).
Aplica 2 capas de un rosado pálido aperlado (Nude Pearl).

2. Apply 2 coats of hot pink (Expecting) diagonally covering just 1/2 of the nail.
Con 2 capas de rosado fuerte (Expecting) traza una línea diagonal y solo cubre la mitad de la uña.

3. Define the division of pinks with a black line and make black dots if you wish.
Define la división de los rosados con una línea y agrega puntos negros si lo deseas.

4. Voila!

I apologize for not having the step by step pictures... I lost that file :(
Una disculpa por no tener las fotos del paso a paso... Las perdi :(
xoxo,

Carol 
Pin It

Wednesday, July 6, 2011

Pink Party

Hola!

Products Used:
Productos Utilizados:
  • Base and Top Coats
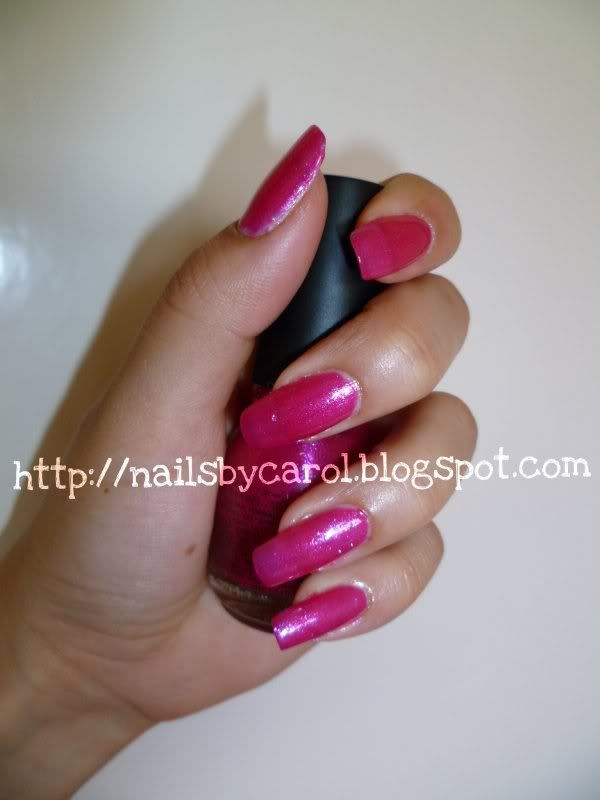
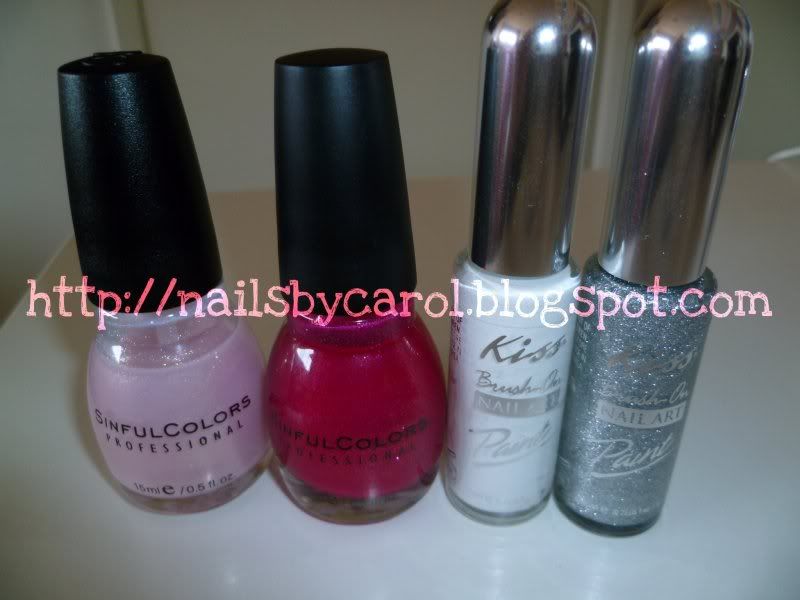
  • Glass Pink by Sinful Colors
  • Forget Now by Sinful Colors
  • White by Kiss Brush on Nail art
  • Silver Glitter by by Kiss Brush on Nail art


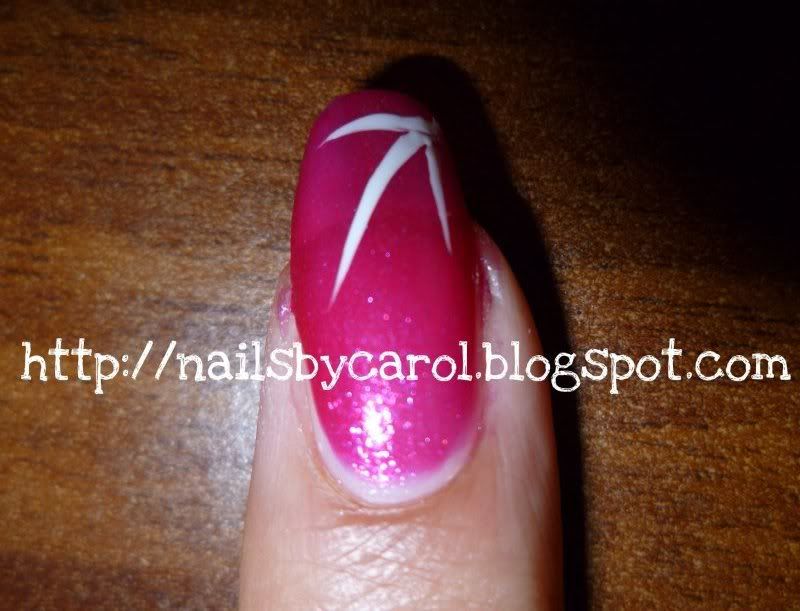
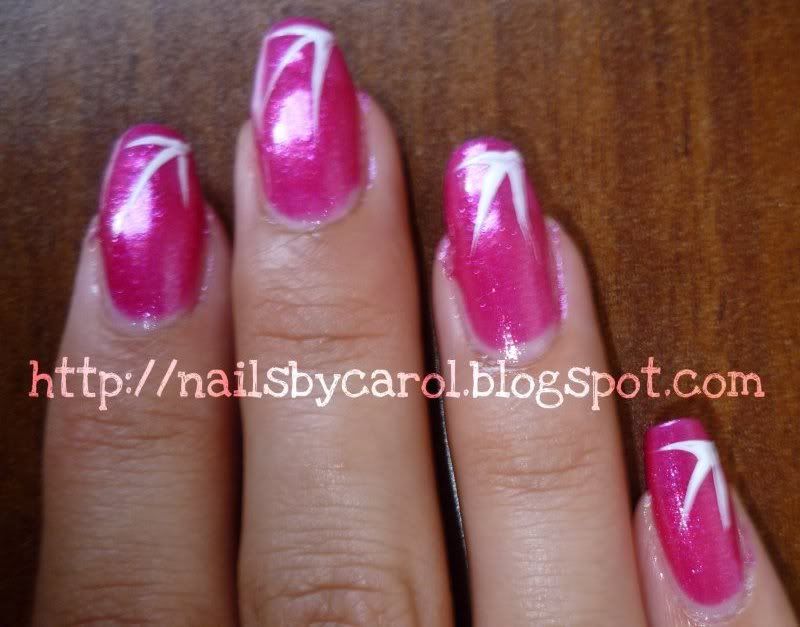
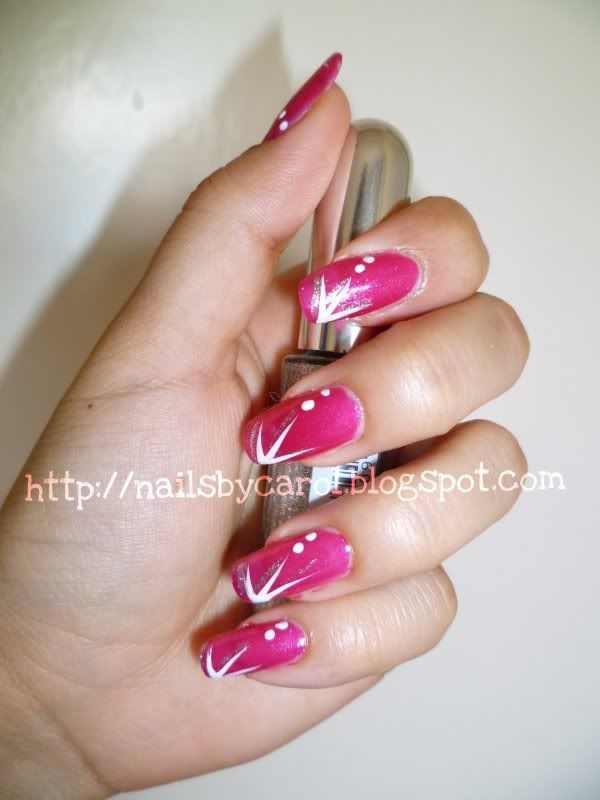
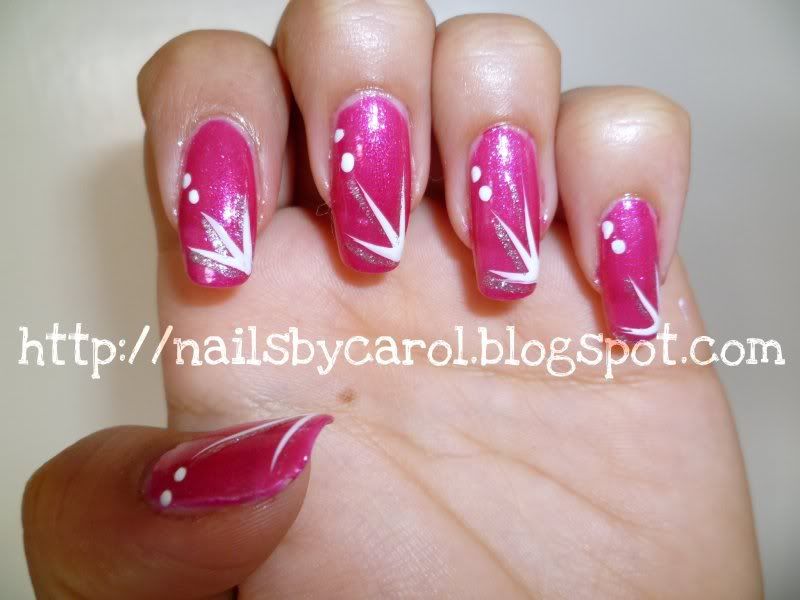
1. Apply 1 coat of light pink (Glass Pink) to even out the nail color.
Aplica 1 capa de esmalte rosado claro (Glass Pink) para unificar el color de la uña.

2. Apply 2 coats of hot pink (Forget Now) and wait until dry.
Aplica 2 capas de rosado fuerte (Forget Now) y espera hasta que seque.

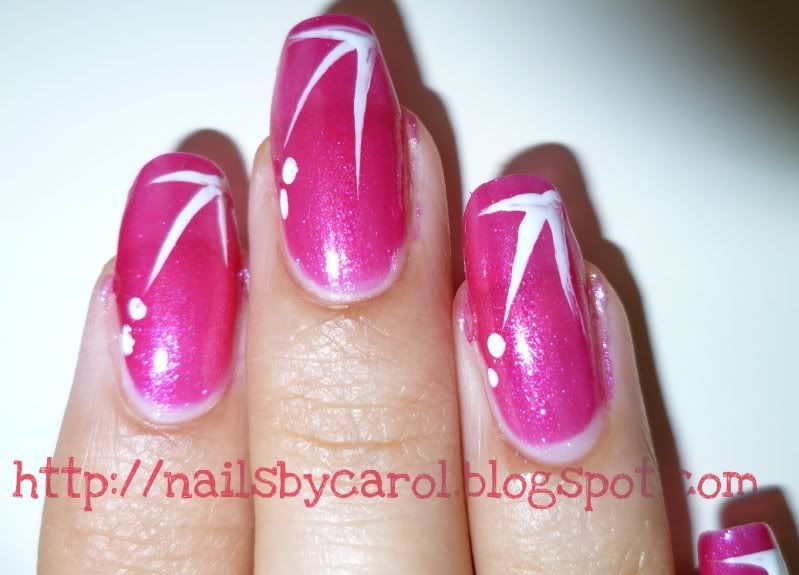
3. Take your white nail art polish (PA02 White) and draw 3 little lines from the corner top to the bottom (sort of like a feather).
Con un esmalte decorador blanco (PA02 White) dibuja 3 líneas de una de las esquinas superiores hacia abajo (algo como una pluma).

4.Add 2 dots below the middle line.
Haz 2 puntos abajo de la línea del medio.
 
5. Give the white decoration some dimension with a silver glitter (PA10 Silver Glitter).

Agrega dimensión al decorado blanco con un poco de brillantina plateada (PA10 Silver Glitter).

6. Add a top coat.
Usa un protector/sellador de esmalte.
-Carol
Pin It

Friday, June 24, 2011

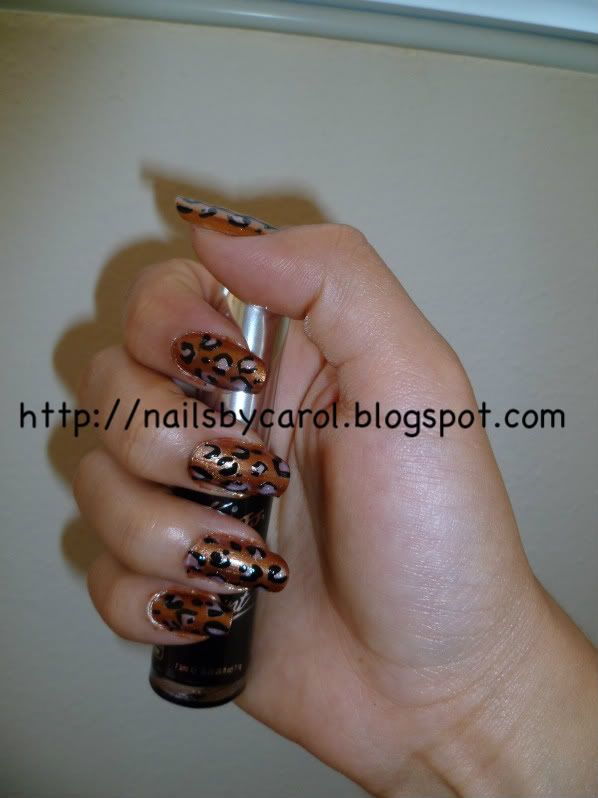
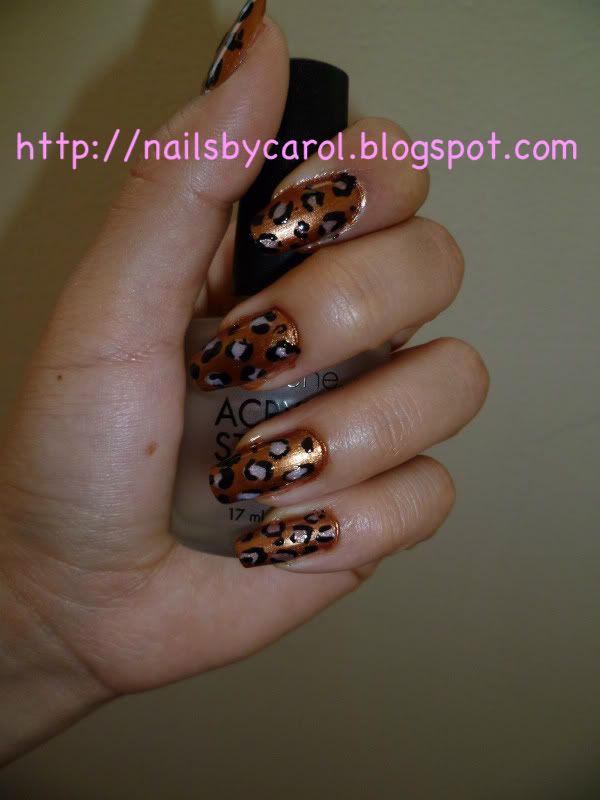
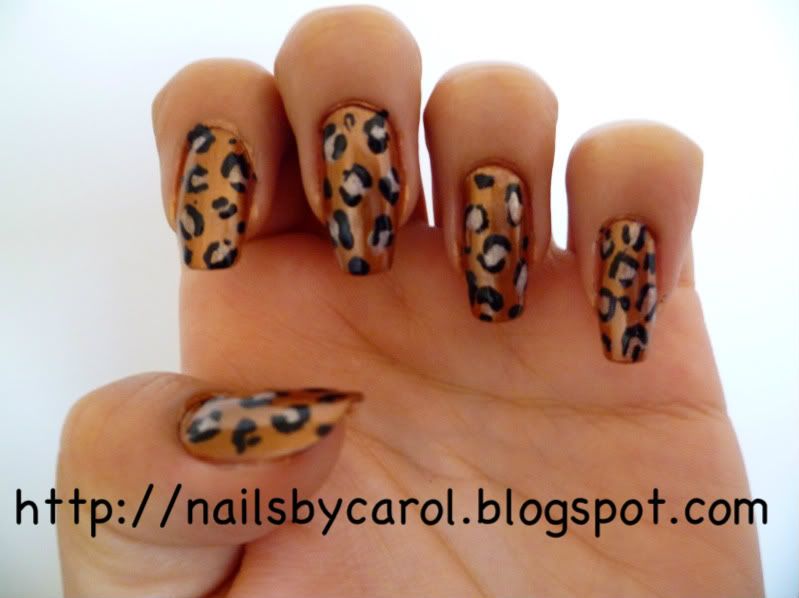
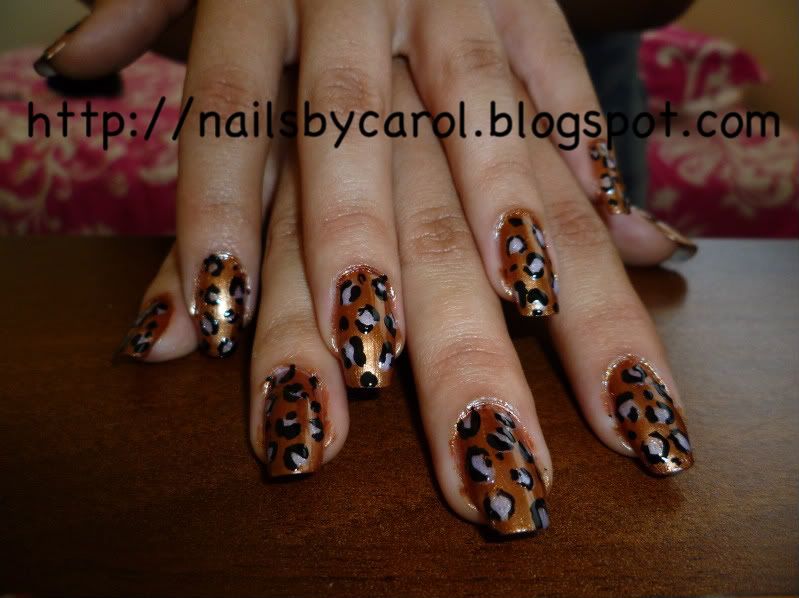
Animal Print: Leopard

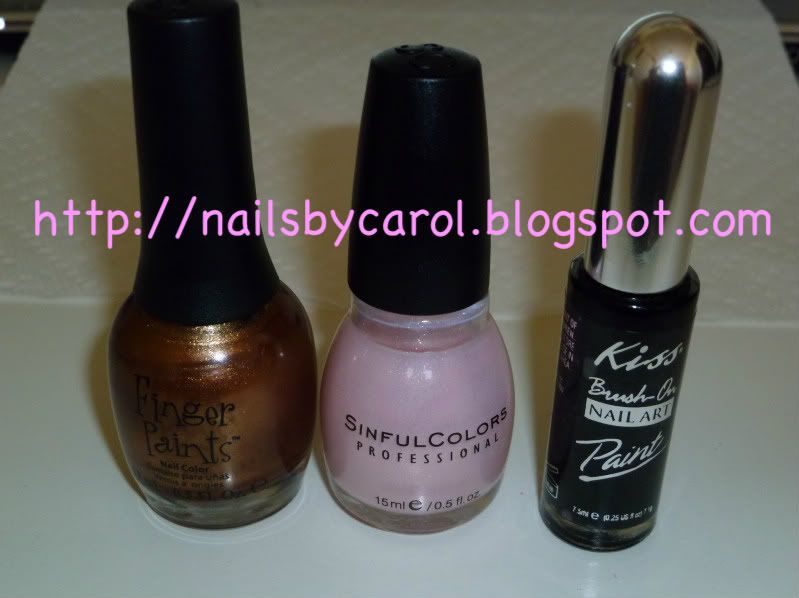
Products Used:
Productos Utilizados:
  • Figure of Art by Finger Paints
  • 776 Glassy Pink by Sinful Colors
  • PA12 Black by Kiss Brush on Nail Art  
  • Base coat and Top Coat  (Endurecedor y Protector de esmalte)

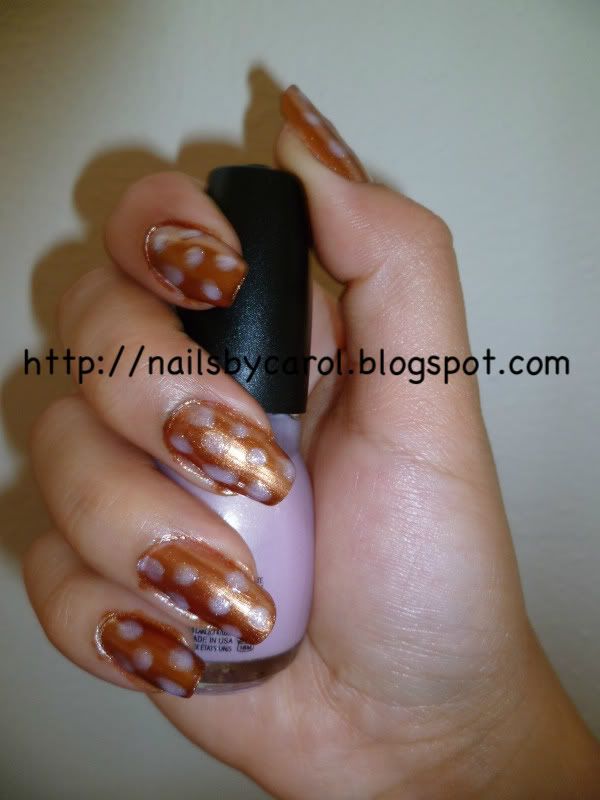
1. Apply 2 coats of the gold color.
Aplica 2 capas del color dorado.

2. With the light pink polish, create round-ish shapes.
Con el color rosado pálido, haz figuras casi redondas (manchitas).

3. With a nail art nail polish, outline the light pink spots just created.
Con un esmalte negro para decorar, delinea las manchitas rosadas que acabas de crear.

 
4. Apply a top coat.
Aplica un protector de esmalte.

5. We're done!
Hemos terminado!
-Carol
Pin It

Tuesday, June 21, 2011

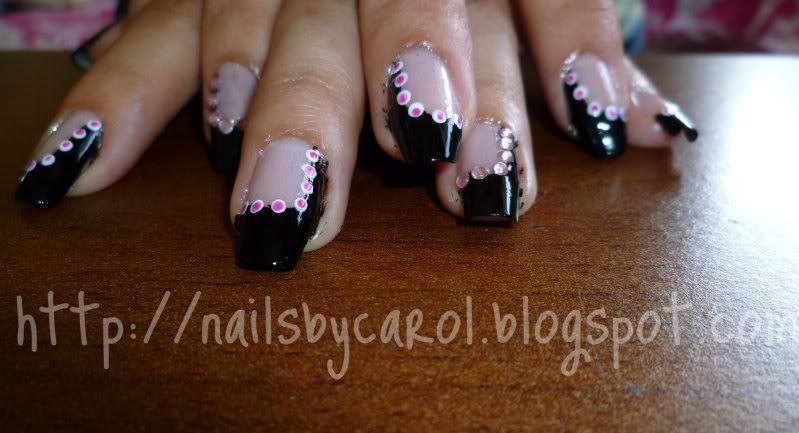
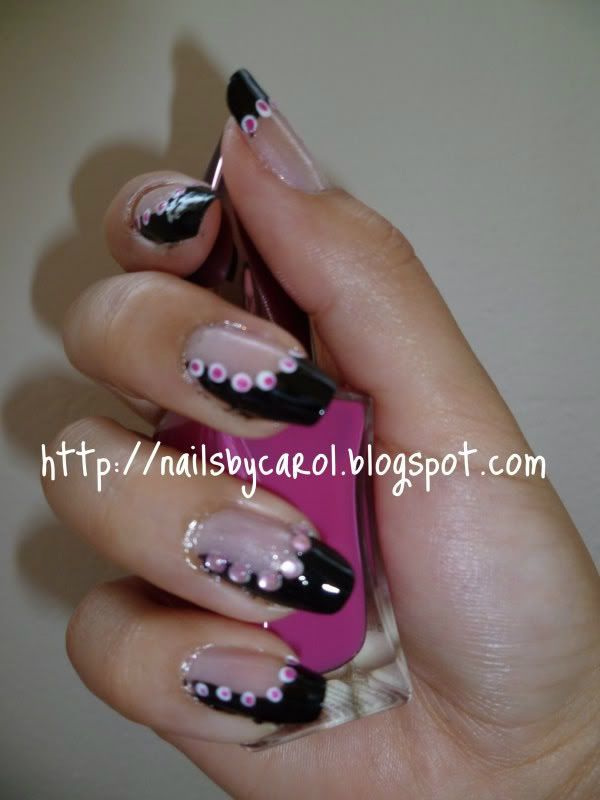
Special Occasion/Fancy Nails

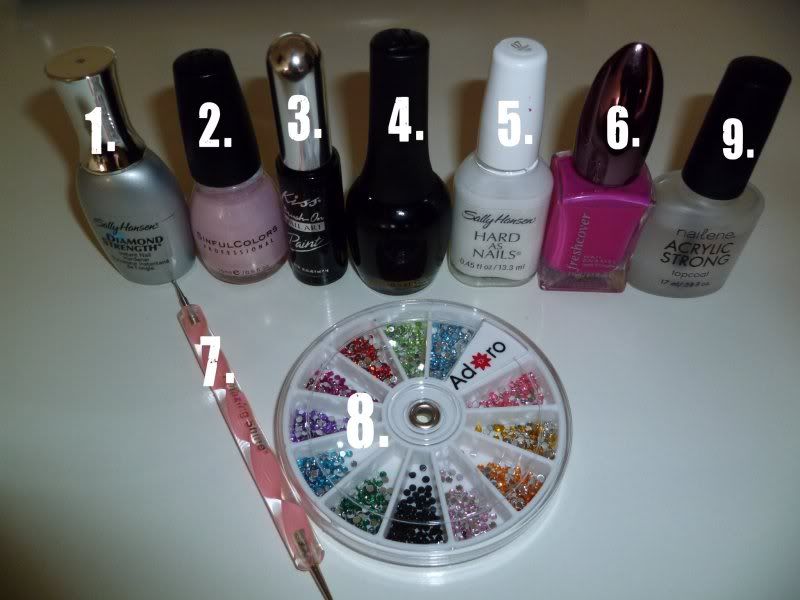
Products Used:
  1. Diamond Strength Nail Hardener by Sally Hansen
  2. Glass Pink by Sinful Colors
  3. Black by Kiss Brush on Nail Art
  4. Black Expressionism by Finger Paints
  5. White Tip by Sally Hansen Hard as Nails
  6. Expecting by Freshcover
  7. Dotting Tool by Amazing Shine
  8. Rhinestone Wheel by Adoro
  9. Acrylic Strong Top coat by Nailene 

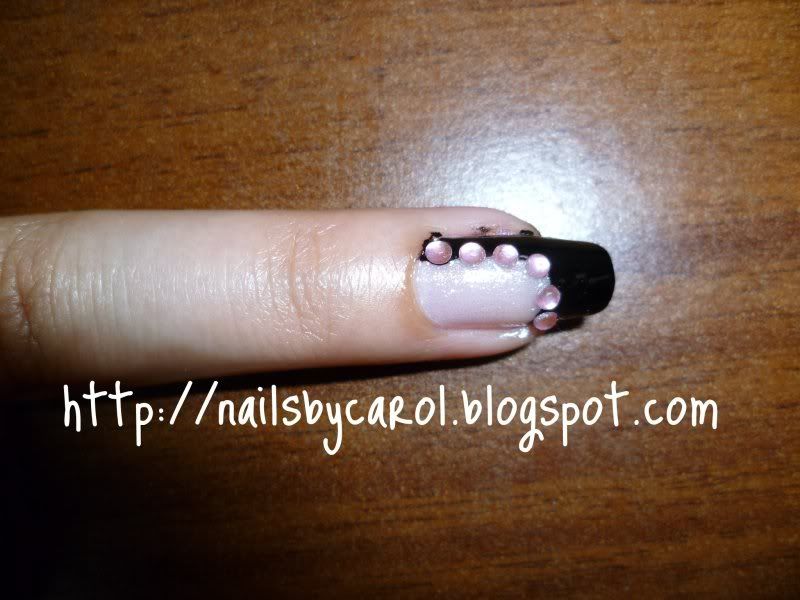
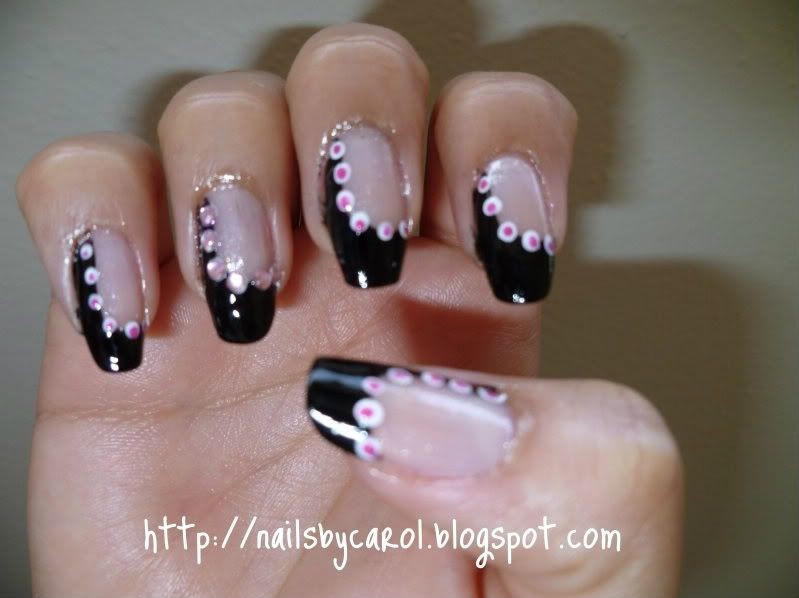
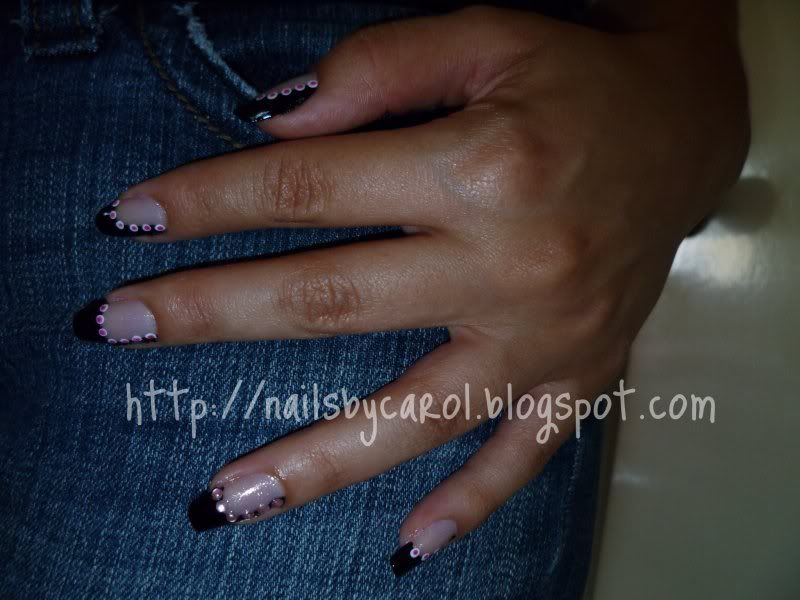
"French tip" with Black

Add rhinestones on ring finger

Add white and pink dots along the edge


The end!

-Carol
Pin It